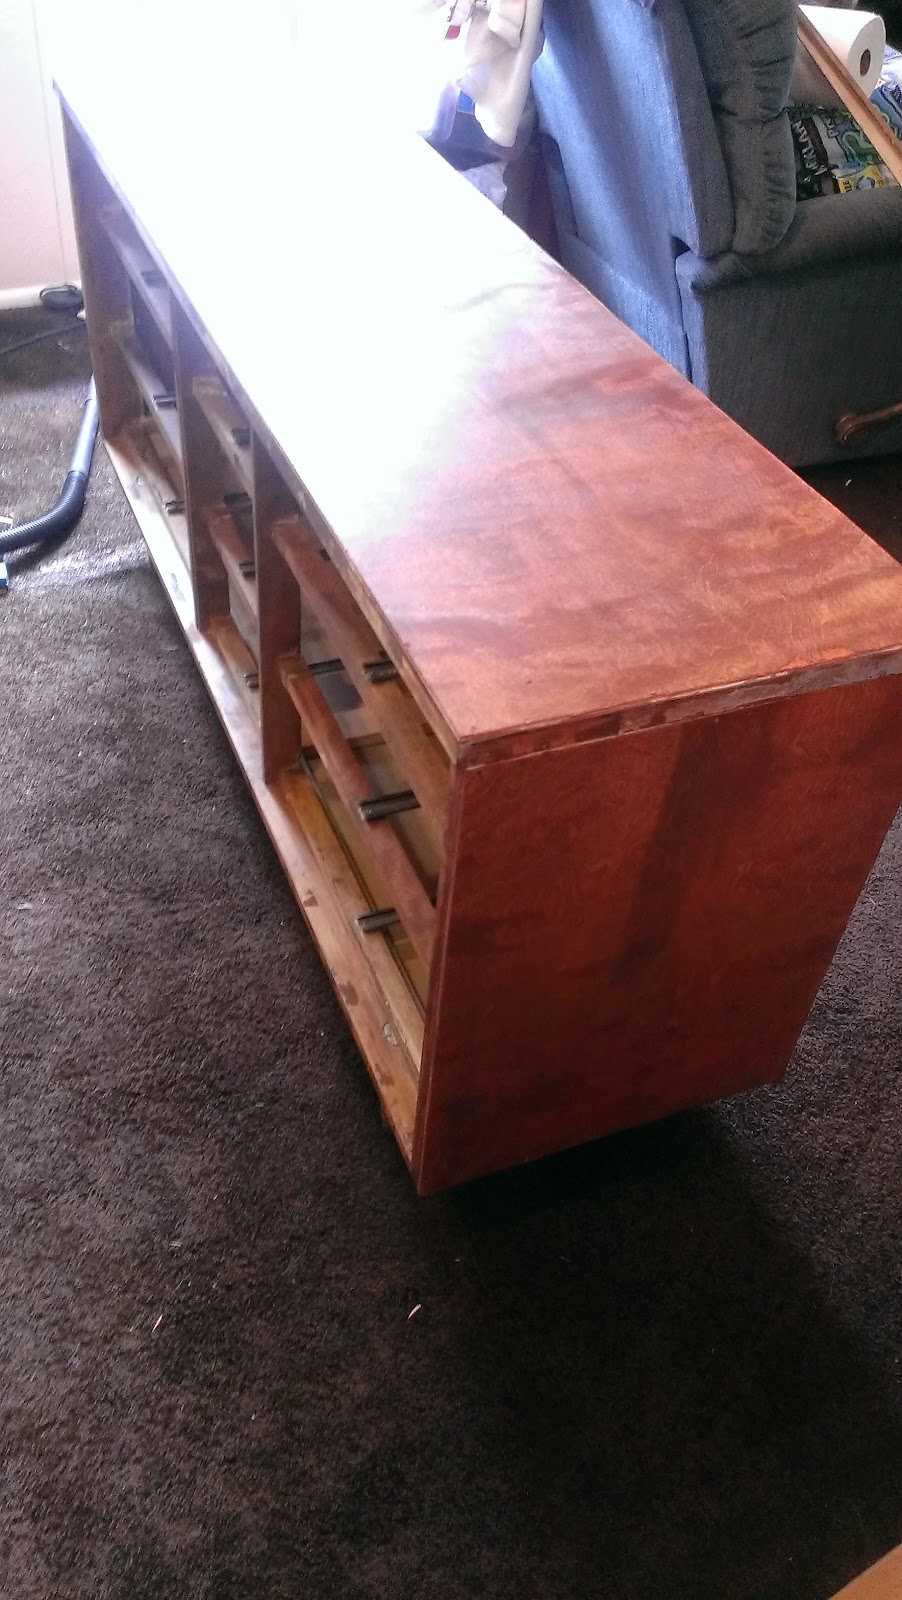
So we bought this for my step-daughter and realized that it was way to big for her room. It chilled in our basement and finally one day I got a bit crazy. This was a great first project and I have to admit that scraping off purple paint only to reveal beautiful stained wood is a crazy euphoria. No, I was not huffing stripper! Below are the steps and that ended up being my first reclaimed piece. I can't wait for my next, this was awesome.
So when I started I completely spaced that I had started a blog! DOAH! So please forgive me that you missed the pink that the top of this was painted with, I thought it was solid wood but the top and sides weren't so I will tell you later how I blazed that hurdle. I removed the knobs and drawers to make accessibility easy. I also placed a plastic drop cloth under the dresser and where I placed the drawers. I am messy, I admit this.
 So I talked to the trusty paint guys at Home Depot and they suggested this stripper. I read the reviews and they were mixed so I tried a small bottle. This worked awesome for me! I liked the fact I was a bit sloppy and it didn't eat my hands or carpet. It did eat the purple paint off like a champ. I applied it with a super cheap paint brush and let it sit for about 4 hours and refused to peak at the progress. I don't expect this stuff to be a miracle paint remover, I am a realist.
So you brush this stuff on, I suggest a bright lit area so that you can see the areas you miss. You're going to miss some so be patient with this process. You will know it's time to scrape away; the paint will be super bubbly.
I scraped with a spatula, a razor blade, and a plastic scraper that is for drywall. They all had their own little purpose, had I not had a slew of them one would of worked just fine.
I remember the first pass and I smiled, it revealed this beautiful stained wood. I used a nail file to get into the holes where the knobs went.
When I got all the paint stripped off I used a cleaner. Just ask those awesome paint guys! They are tons of help!
I turned it on it's side so that I could vaccume out the inside and to make sure I got all the paint off the cross pieces. This took the most time. There was layers on top of layers of paint on those bad boys.
This was the before and after when I wiped them with the cleaner, I was still in awe of the beautiful wood beneath the paint! How could anyone cover up such beautiful wood?
This is how I placed the drawers so I could lacquer them. Next I tackled how to deal with the fact the top and sides weren't real wood.


So I went to the hardware store with an idea but not 100% sure how to execute this one. I knew it needed to be thin, and I wanted wood grain. So I found plywood that had a nice grain and would take stain. I cut them to the exact edge. I used wood glue and clamps, then with a #40 drill bit and followed it with small nails. This worked awesome! The stain looked amazing on it and I was on my way again.
 This was after I had gotten the new wood top on and secured. It looked wonderful! I was beyond pleased.
Now it was time to lacquer! This is a long and boring process, I won't lie to you. But you have to do it to protect your wood.

Here is a nice little secret for keeping your lacquer or paint from pooling into your can lip. Take a nail or screw and lightly tap a hole into the can lip. I normally do this four times for small cans. No worries the lid will seal and the lacquer won't dry out. It allows all your paint/lacquer to drip back into the can.
When lacquering I used an old Tupperware container. This is done in small processes so I wrapped it in a plastic grocery bag to keep it from curing. Make sure you use the proper brush for this, they aren't cheap but will make all the difference. Make sure that you're generous with this stuff, if not you'll have brush strokes. I started this on a Saturday first thing. It takes 6-10 coats and you let it cure for about two hours in between coats.
To finish the edges I used a molding that I stained and cut at angles with a table saw so that the edges matched nicely. I lacquered this assembled. I loved the distressed edges so I left them. I used a semigloss finish.
Here is the finished dresser!


Great job! Looks wonderful!
ReplyDelete